Showing posts with label cookie cutters. Show all posts

Sunday, April 28, 2013

More Birthday Cookies and MY Birthday Cake

So I did some more cupcake cookies for a friend's birthday last weekend.  I did them in pink and white and I made sprinkles for them by making tons of tiny straight lines of royal icing on wax paper and then rolling and crushing the sheets after they had dried.


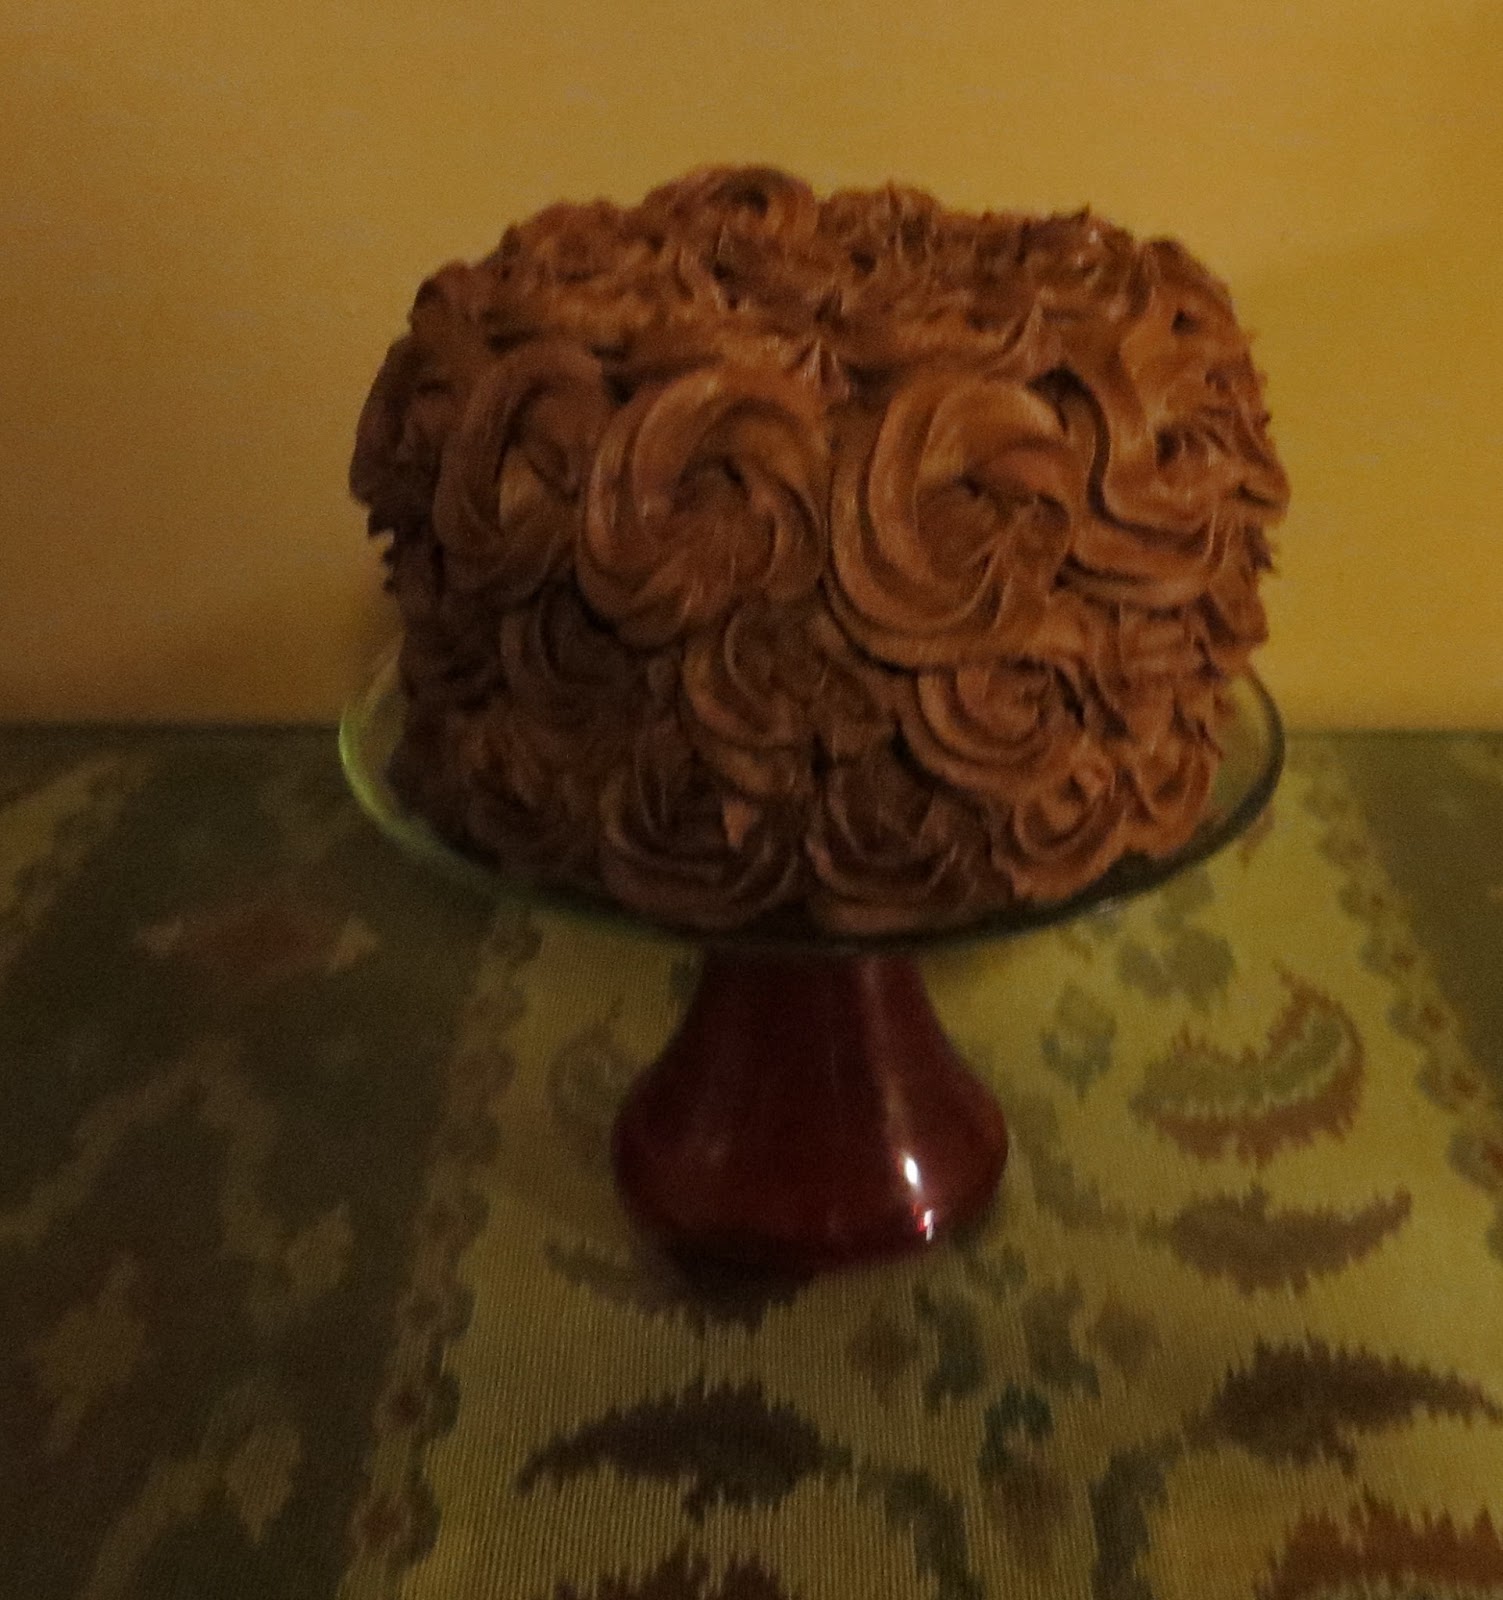
My birthday was Wednesday and my sweet hubby called me on his way to work Tuesday morning to tell me that with all he had going on at work that he wouldn't have a birthday cake for me on my birthday, but that he would get one later in the week.  While most people might be disappointed by such news, I was THRILLED because it meant that I could finally try out my two new 6"x 3" round cake pans my mom gave me as an early birthday gift. I told him not to get one and then started running ideas through my mind.  First you must know that I stink with cakes!  I can never get them to look just how I want - just can't seem to do the base frosting quite smooth enough for my liking.  I've been dying to try this chocolate cage idea from Doughmesstic again, but had a bad experience by not following her warning about white chocolate as a newbie when I tried to do one for Easter with a lavender white chocolate cage, so I talked myself out of doing my birthday cake with a dark chocolate cage.  Instead, I decided to try doing a swirly rose cake.  Sometimes I'm just dumb enough to give anything a try and sometimes I am even pleasantly surprised with the outcome, like  I was with my swirly rose birthday cake.  The cake was four layers (the 6x3's cut into two layers each) and the frosting was chocolate buttercream with a hint of coffee extract in it.  It was sooooo good and like I said, it I thought it turned out pretty cute for a first time effort.


I ran out of my awesome mocha-ish buttercream partway through it, so I had to stop and make more.  I just made a 1/2 recipe to finish off and had ALMOST enough - the swirly roses on the top are kind of thin compared to the rest of the cake, but I was able to finish it off.  Besides, there is so much frosting on this cake that you really didn't miss out on any from the thinnish top.

Of course, we see them everywhere now, but I watched this video and decided I could do this. I believe the original idea of doing cakes this way came from I am Baker, here.

And oh my gosh, I almost forgot to show off all my new cutters I've received as gifts from friends for my birthday!!  I hit the JACKPOT!!!  And I got a lot of great cutters too! ;)


Check out the haul from my friend Missy.  My cat Helen was enthralled by them as well and that was the best I could do photo-wise in terms of getting her to stay out of the picture!  Missy and I have never met in person but became friends through Facebook back in 2009 - I guess we are like modern-day penpals!  lol  Anyway, look at the princess set with a castle, tiara, and shoe; the summer set of a margarita, sunglasses and flip-flop; and the boy set of a car, airplane and train; not to mention all of that luster dust and gel colors.  I was beside myself!  Oh, and I had never had a caramel apple, so she sent me a Colorado Caramel apple and I must say, it was divine!

These were a total surprise from my friend Mary, one of the surprise recipients during "Operation Spread a Little Sunshine."  I was shocked when I found them in my mail and totally overwhelmed when I opened the box and saw what all she'd sent to me!!  There was a kitty set that has lots of kitties in different positions as well as a little mouse; there was a graduation set that contained a cap, gown, diploma, award, apple and owl.  Then some others that she thought I might like - a rooster, a chick, a penguin (which I can totally see using for a boot with a little trimming), a palm tree and a sunburst.

These are from one of my oldest friends - we were best friends in 2nd grade - Christy. She sent me a message the other day asking for my address and it never crossed my mind again that she'd asked for it.  Then on my birthday, I went to my mailbox and found a package from her!  Everyone knows I love kitties (I only have 4 indoors, but tend to almost an entire community of strays!), so she did the great cat face/head and a playful kitty.  Then there's a hen!!!  I was so excited by the hen, because among my strays is a little banty Welsummer hen who chose me last year - she lives in my back yard during the day and sleeps in my camellia beside my front porch at night.  Her name is Chicky Boom and now I can make a Chicky Cookie!  Chicky's pic is my blogger profile pic above and the inspiration for the name of this blog.

Friday, March 29, 2013

Easter Cookies

So I've been working on cookies for Easter off and on all week and here's a sampling of all of the ones I did. I think there are about 70 all total:

Easter Cookies


Because I was doing so many, I just really played around and worked on trying to learn different techniques.  I had already planned to do the sheep with a round flower cutter I had, but among that huge lot of 27 cutters that my mother-in-law gave me was an oblong flower that I decided was even more perfect for them.  I did all sorts of things for the texture on them - tried Cornelli lace, dots, swirls, you name it.  

Easter cookies.  Sheep cookies


I had a lot of fun with the carrots, which I did in diagonal sections in order to give them some texture.  I'm super slow when working on cookies, so knocking out about 2 dozen of those in about an hour was a feat about which I was VERY excited!  

Easter Cookies.  Carrot Cookies.


On the small hopping bunnies, I decided to try out doing wet on wet roses.  They came out okay, but I definitely need some work on that technique.  I'd also try different colors next time, but I was just using what I had left over because the thought of making and coloring more icing was just too much for me.  Those little crosses were surprisingly difficult for me - I think mainly because my icing was likely a little too thin for how narrow they are.  I loved doing the eggs with the bunny sitting in the grass.  Of course I had to throw in some flowers, too and I had a new cutter that I wanted to try out and I think I'm in love!

A friend had a new baby girl last Friday and I decided that I wanted to do some baby girl cookies for her, but didn't have any baby specific cutters, so I went through what I had and looked at things others had done online and came up with these for her:


I had other things in mind for these, but within 10 minutes of starting to work on them, I had a migraine with aura hit me, so I didn't think I should try decorating cookies while I was blind for all intents and purposes, so I quickly knocked these out the next morning before work and turned the fan on them so that they'd be dry by the time I got home.  I just used the pink I was using on the cookies for Easter, although I really wanted to make a more pale pink, but with the aforementioned headache, I just didn't have any other option at that point if I were going to get these to her when I would see her on Wednesday afternoon.  I had also planned to do a couple of small lambs with pink accents, but in my haste of pulling them off the baking pan, I broke both of them.  Rather than putting them down my human garbage disposal, I just tossed them onto a paper plate.  The next morning, I was thrilled when I saw the break pattern and what I can use that same cutter for.  Take a look and see if you see it:


While making icing this go around, I realized I was out of almond extract, but just doubled the vanilla and kept working and never gave it another thought.  After giving my friend her new baby girl cookies, she sent me a text asking whether they contained any nut ingredients including things like almond extract because her 3 year old has severe nut allergies.  Fortunately this little guy was able to enjoy a cookie with his parents and older brother simply because I was out of almond extract.  My husband isn't a huge fan of the almond extract in the icing (and sugar cookies when I do them), so I may very well just no longer use it, unless specifically requested, as the idea of nut allergies never even occurred to me before.

Thursday, March 21, 2013

The Mother-in-law Lode

So my mother-in-law called me and told me she'd picked up a few cookie cutters for me.  I should have known when she said a few that it meant a lot more than a few.  She doesn't just do anything - she DOES everything and does it big when she does.  She's the best.  Even still I was surprised when I went over to pick up the cookie cutters and found a bag of 27, yes, that's right, twenty-seven, cookie cutters.  And check out those bargain basement prices on them!  As usual, she did a fantastic job.  I'm so excited and will be using many of them this weekend as I make cookies for Easter.


So, there's a set of three patriotic ones including a flag, the outline of the US and a star; two spring sets including butterflies, flowers, a tulip and a heart;  a Wilton comfort grip bunny head; a Wilton comfort grip full bunny body; a Wilton comfort grip egg; a ducky; a four piece birthday set including a cupcake, cake, gift and a party hat; a comfort grip Easter set including a bunny head, an egg, a tulip and a scalloped flower; and another, yet different, Easter set including a bunny head, bunny body, scalloped flower, tulip, an egg and something else I cannot remember.  Wow.  Looks like I'm set for Easter, just wonder if I have enough time between now and then to try some of them all! 

I love when others encourage my madness!! 

UPDATE:  I decided that I was beginning to amass an actual collection of cookie cutters and decided that now would be the time to start an inventory of what I have instead of after my 60 has quadrupled, since I'm already beginning to forget some that I have.  Cristin, of Cristin's Cookies, was kind enough to share her Excel inventory sheet that is divided into categories on box.net, so that I didn't have to reinvent the wheel to get my inventory listing started.  You can find and download her form here.

Wednesday, March 6, 2013

Valentine's Day Cookies

My next foray into cookies came with Valentine's Day.  Since my hubby doesn't like sugar cookies, I decided to try something a little different.  I did these fabulous chocolate roll-out cookies from LilaLoa and since all I had on hand at the time was Hershey's Special Dark cocoa, I used that.  It made them much darker than the ones shown in the link above and I thought they were FANTASTIC. I will likely always use the special dark cocoa in this recipe.  I also tried the chocolate chip roll-out cookies I found on The Sweet Adventures of Sugarbelle for others in the Valentine's Day batches.

I did some for the hubs, of course, and I also did cookie packages for my mom, grandmother, mother-in-law and aunt.  After Christmas I always stock up on gift boxes when they are marked down and found that the rectangular lingerie sized boxes were perfect for sets for each person.  I didn't have any pink ribbon on hand, so I made the most fantastic bows from a roll of crepe paper streamers that I had.  I didn't get a pic of the boxes, but I'm not sure if I was more pleased with the packaging or the cookies!  lol


About a week and a half after Valentine's Day my MIL called and told me that she could just not bring herself to eat the cookies I'd given her except for one of the small ones and the back part of one of the large chocolate ones. I asked if she didn't like them. Her response was that they were too pretty to eat.  I told her that they wouldn't keep forever, so she needed to eat them.  She then told me she plans to polyurethane or shellac them and keep them in her china cabinet.  While that was certainly flattering, it absolutely had to be about the strangest thing I'd ever heard!

The day before V-Day, I met my mom and grandmother for lunch and brought them their cookies.  My grandmother had heard of my new found cookie obsession and dug out some of her old cutters for me. I have to include her cute pic here because she was decked out for our Valentine's luncheon (the other pic is the cutters she brought to me that day).


So what did I learn doing these?  If you look closely, you can see the difference in the way some of the cookies are flooded.  In the middle of this project, I began seeing this video from The Bearfoot Baker being re-posted in FB. It is a fantastic tutorial on flooding cookies and I was immediately able to put what I learned into practice. Also, I learned that getting the perfect red is HARD!!!  I started with Americolor Tulip Red and let it develop overnight and found that it still seemed orange-ish to me.  I added some pink, I added some cocoa powder and still didn't like what I was seeing.  So I went to the store and bought Americolor Super Red and added a little to it and let that develop and it turned into a gorgeous red.  However because I'd just sort of willy-nilly kept putting Tulip Red in at the beginning, it turned out a little darker than I would really have liked once the cookies dried, but at least it was then a true red!  Next time, I would just use a bit less coloring overall and it should end up fine.

My Second Cookie Attempt

My second stab at decorated cookies came after we tried a new vet as a last ditch effort to save our sweet 14 year old cat, who by the way, is now thriving after a thyroidectomy. As a thank you to our new vet I made her some kitty cookies.  I even went so far as to make my own cookie cutter for this - not sure where that bit of over-achievement came from, but I was pleased with the result nonetheless.  I'd been thoroughly studying every single post on The Sweet Adventures of Sugarbelle and recalled having seen a post on making your own cookie cutters, which at first I'd thought was nuts.  Then one night I had a light bulb moment when digging through my craft filing cabinet. I ran across a little scrapbooking kitty "license plate" and loved the shape of it and at that moment recalled the how-to on Sugarbelle's blog and decided to give it a try. 

I give you a pic of the inspiration and of the finished product. I think it turned out pretty well considering I hadn't the first clue what I was doing. Looked pretty good, but how well it would work remained to be seen.


I was nervous about how the cookies themselves would come out from my makeshift cookie cutter and was once again pleased with the result.  I was essentially a Sugarbelle Stalker for this entire project, as I used her basic sugar cookie recipe, too, for these.  Here's how they cut out and baked up. Once again, not too shabby! 


So I'd completed the easy part and now I was ready to do the really scary part.  This time I elected to use Royal Icing rather than the glaze I'd used on the goats.  So this project had yet another first in it.  What did I learn?  Consistency is key! Faces are hard for me. I stink with a piping bag. A few of them turned out pretty cute, but it took me quite a while to get into my groove and feel comfortable doing them.  You can see in some of the pics below that I didn't have the consistency just right on a couple of the noses, so they spread out.  I did manage to have a few that I wasn't too embarrassed to give to the vet as a gift.  I showed the pics to my sister who insisted that I post the pics to facebook despite how bad I thought they looked, because she said I was being too critical.  Granted all of the commenters on the pic on facebook are friends of mine who would never be ugly to me, but their comments were positive and really helped with my confidence in them overall.